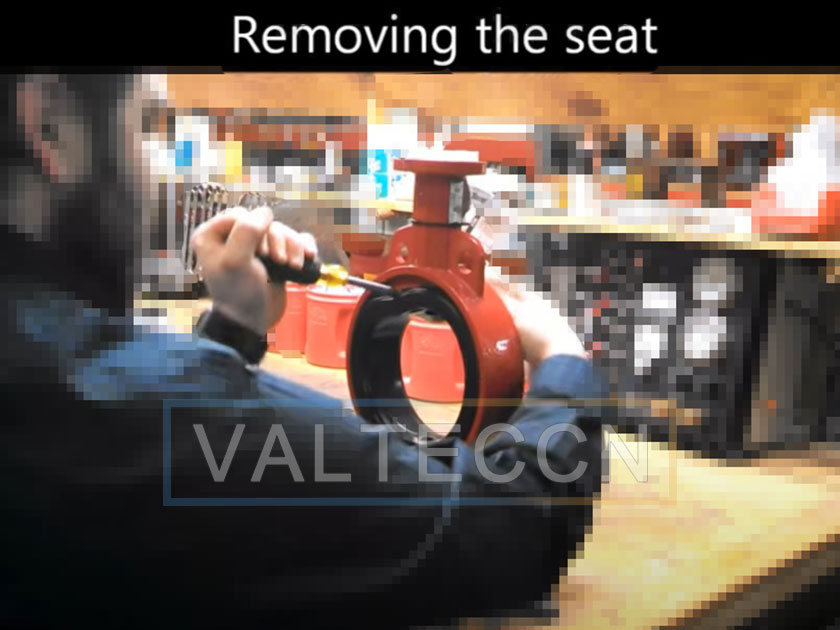
Butterfly Valve Seat Replacement
To replace a butterfly valve seat, you will need to first remove the old seat from the valve body. This can be done by loosening the bolts that hold it in place and then gently tapping it out of the valve body with a hammer. Once the old seat is removed, it is important to clean the surface of the valve body so that it is free of any debris. The new seat should then be lubricated with a silicone lubricant and inserted into the valve body. Finally, use the bolts to secure the new seat in place.
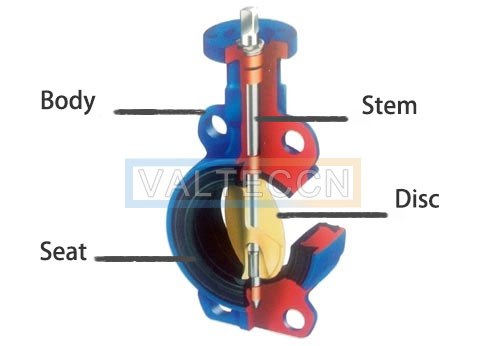
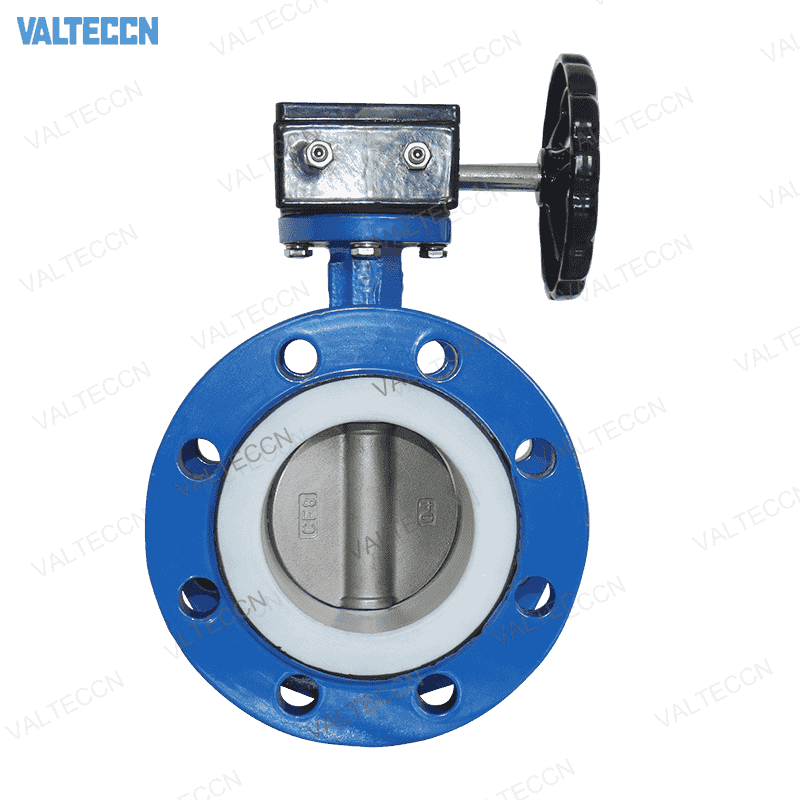
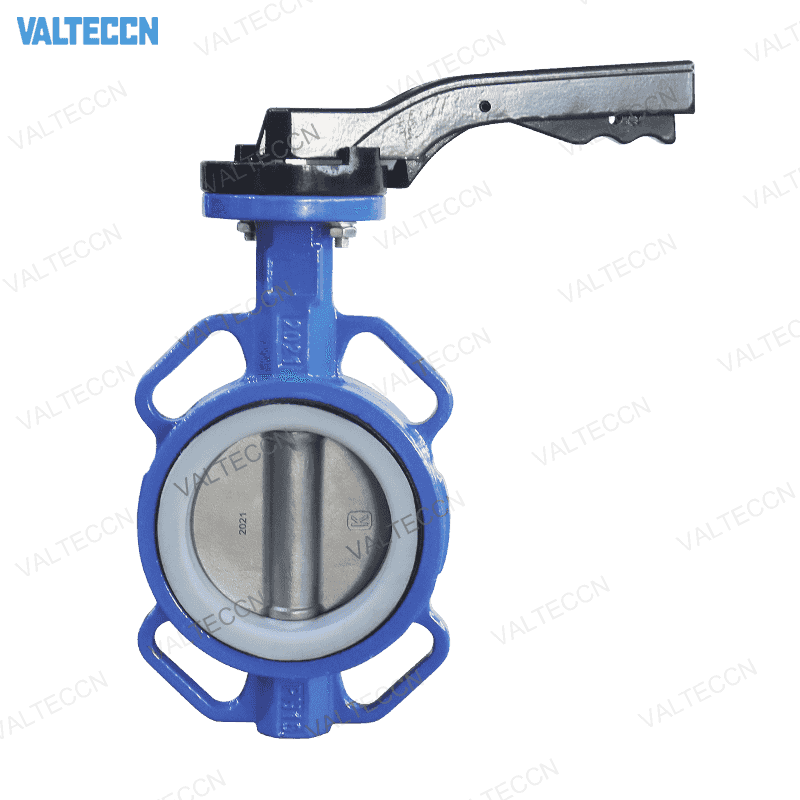
In addition to the steps outlined above, it is also important to understand the basic components of a butterfly valve and how they work. Generally, butterfly valves consist of a circular disc, a valve body, a seat, and a stem. The disc is attached to the stem and is used to open and close the valve. The seat is the section that the disc seals against and is what creates the seal so that no fluid can pass through the valve. Finally, the valve body is the outer casing that contains the disc, stem, and seat.
Overall, replacing a butterfly valve seat requires a few simple steps, but it is important to understand the basics of how a butterfly valve works. By following the steps outlined above and taking the time to familiarize yourself with the components and mechanics of a butterfly valve, you will be able to replace the seat safely and effectively.
VALTECCN is an industrial butterfly valve manufacturer and supplier. Their factory produces high-quality and price-competitive butterfly valves and valve seat fittings.

Butterfly Valve Disc Material Selection Comprehensive Guide
Butterfly valve accessories-aluminum bronze butterfly valve disc features and advantages
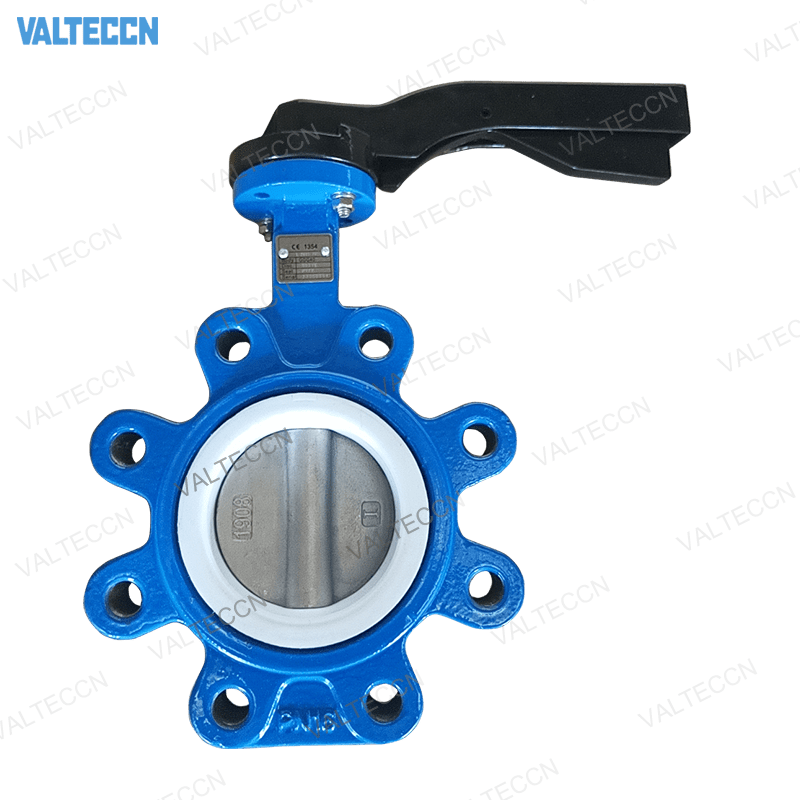
Lug Butterfly Valve Body, Ductile Iron Casting
Analysis of the causes of butterfly valve seat damage
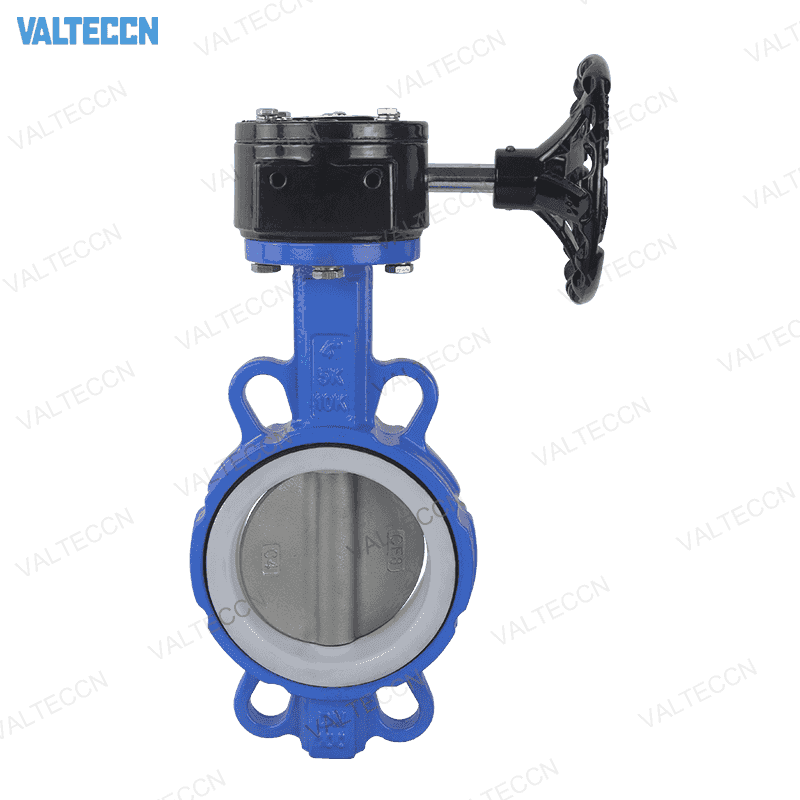
DN200(8 Inch) Ductile Iron Butterfly Valve body Supplier and Manufacturer